
Quick start
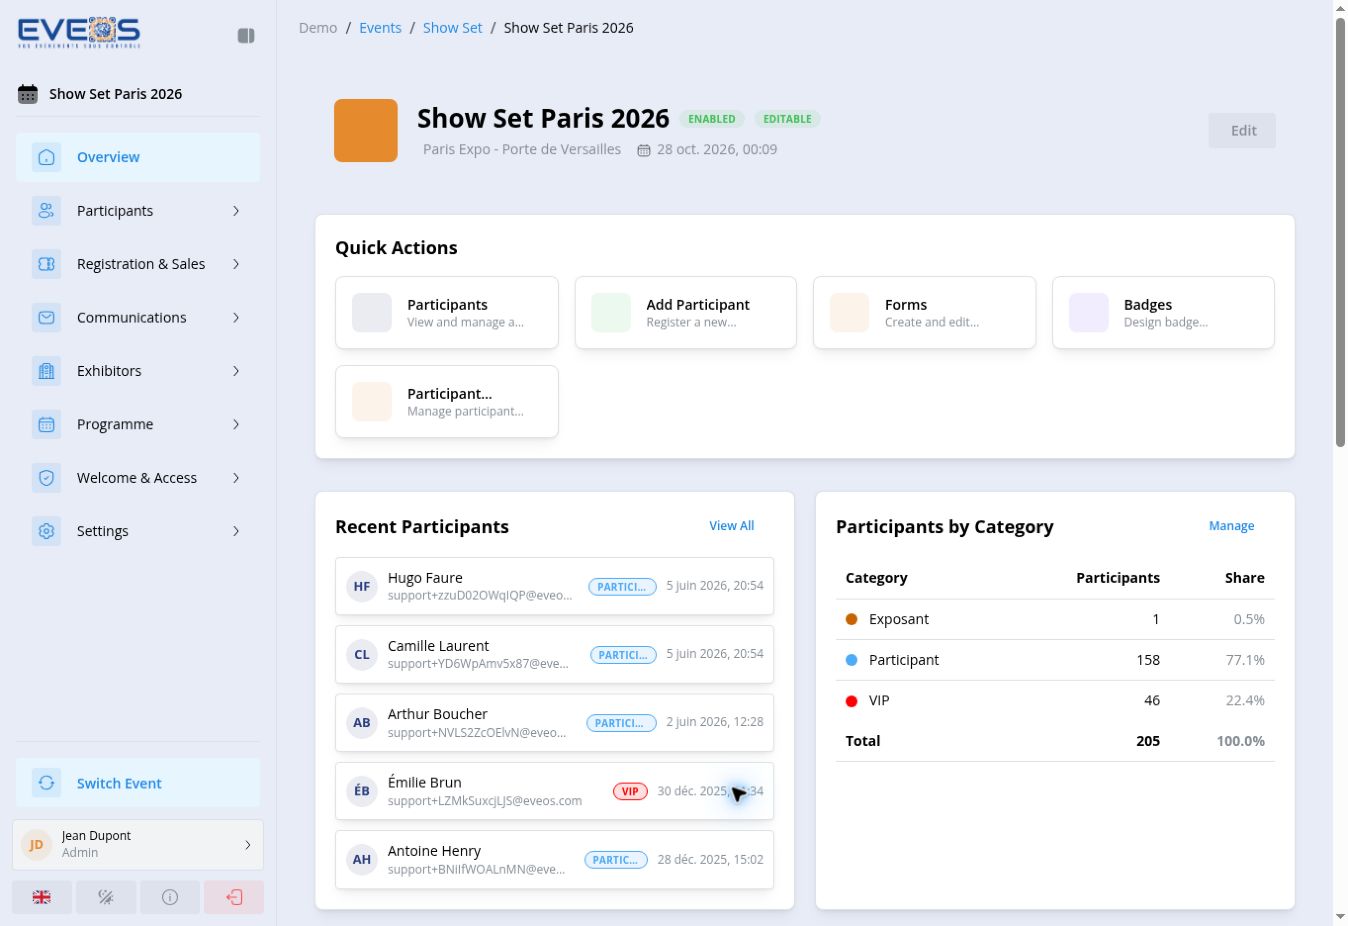
This guide takes you from “Choose an Organizer” to a session’s “Overview”.
Before you start
Section titled “Before you start”- Log in to Eveos.
- Prepare the organizer, event, and session names.
- Prepare the session dates, location, and timezone.
1. Create an organizer
Section titled “1. Create an organizer”- On “Choose an Organizer”, select “Add”.
- In “General”, enter at least the “Organization Name”.
- Add the contact details and contact address used by your organization.
- If needed, open “Legal Information” and add the billing information and registered address.
- Select “Create”.
If the organizer already exists, select its name directly from the list.
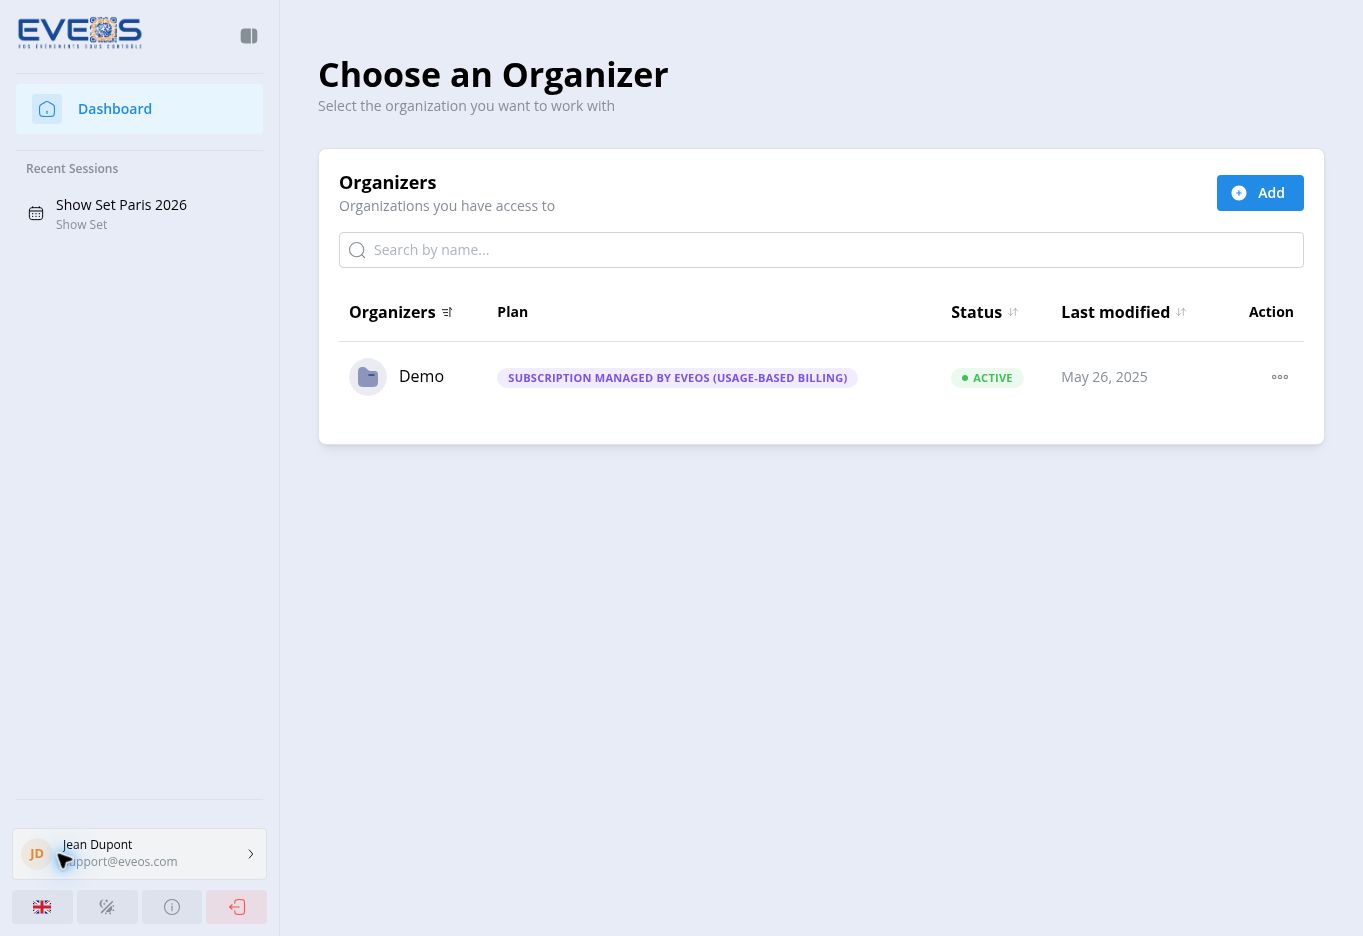
For all visible fields, see Choose or create an organizer.
2. Create an event
Section titled “2. Create an event”- In the organizer workspace, open “Events”.
- Select “Create Event”.
- Enter the “Event Name”.
- If needed, add a description and the logo and banner URLs.
- Select “Create”.
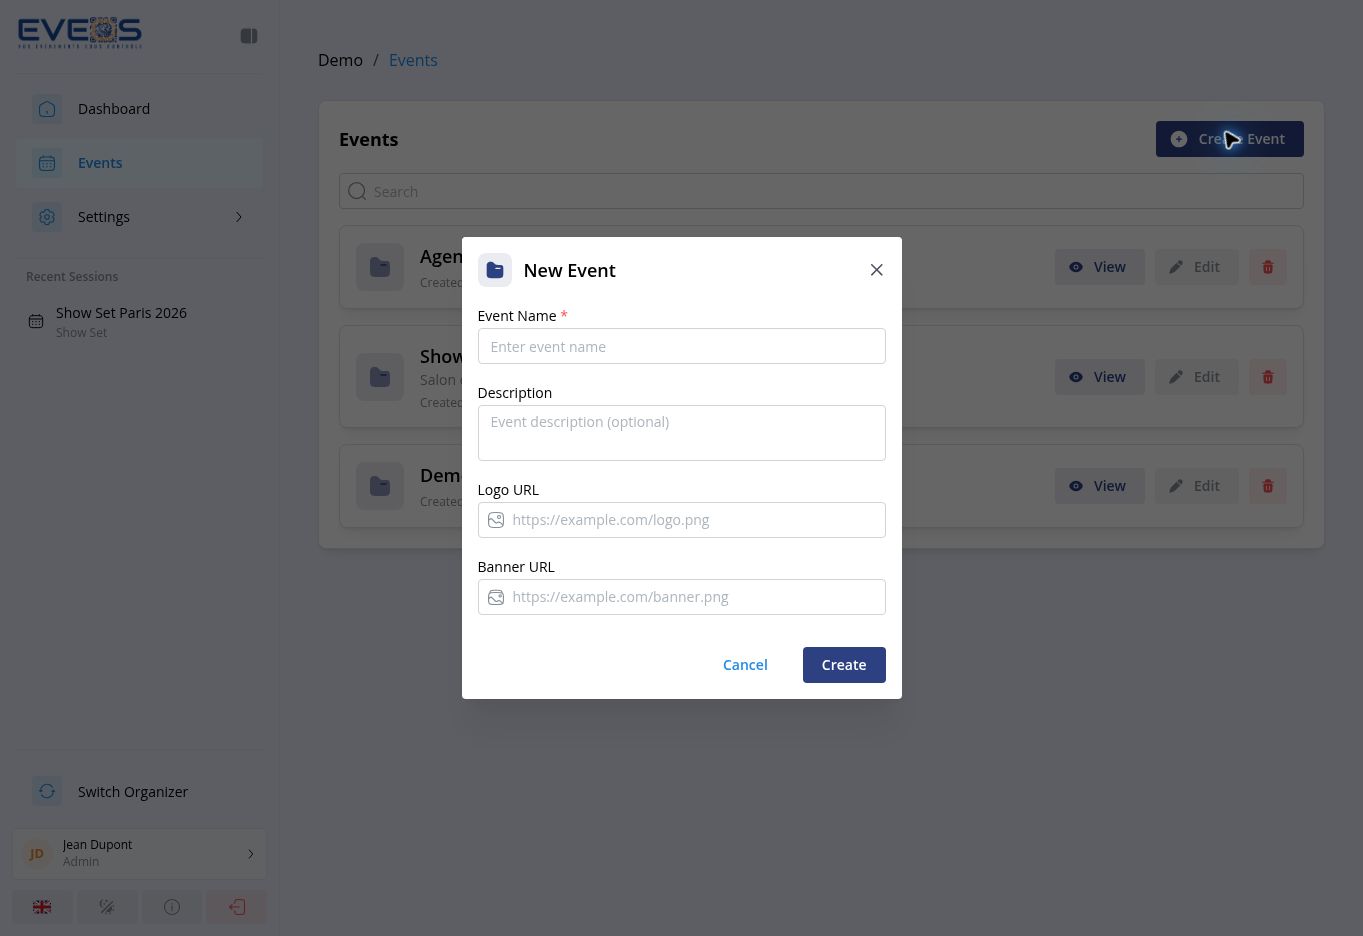
No dates are defined at the event level: dates, location, and timezone belong to sessions.
See Introduction to events to understand what is configured at this level.
3. Create a session
Section titled “3. Create a session”- Open the event you want to work in.
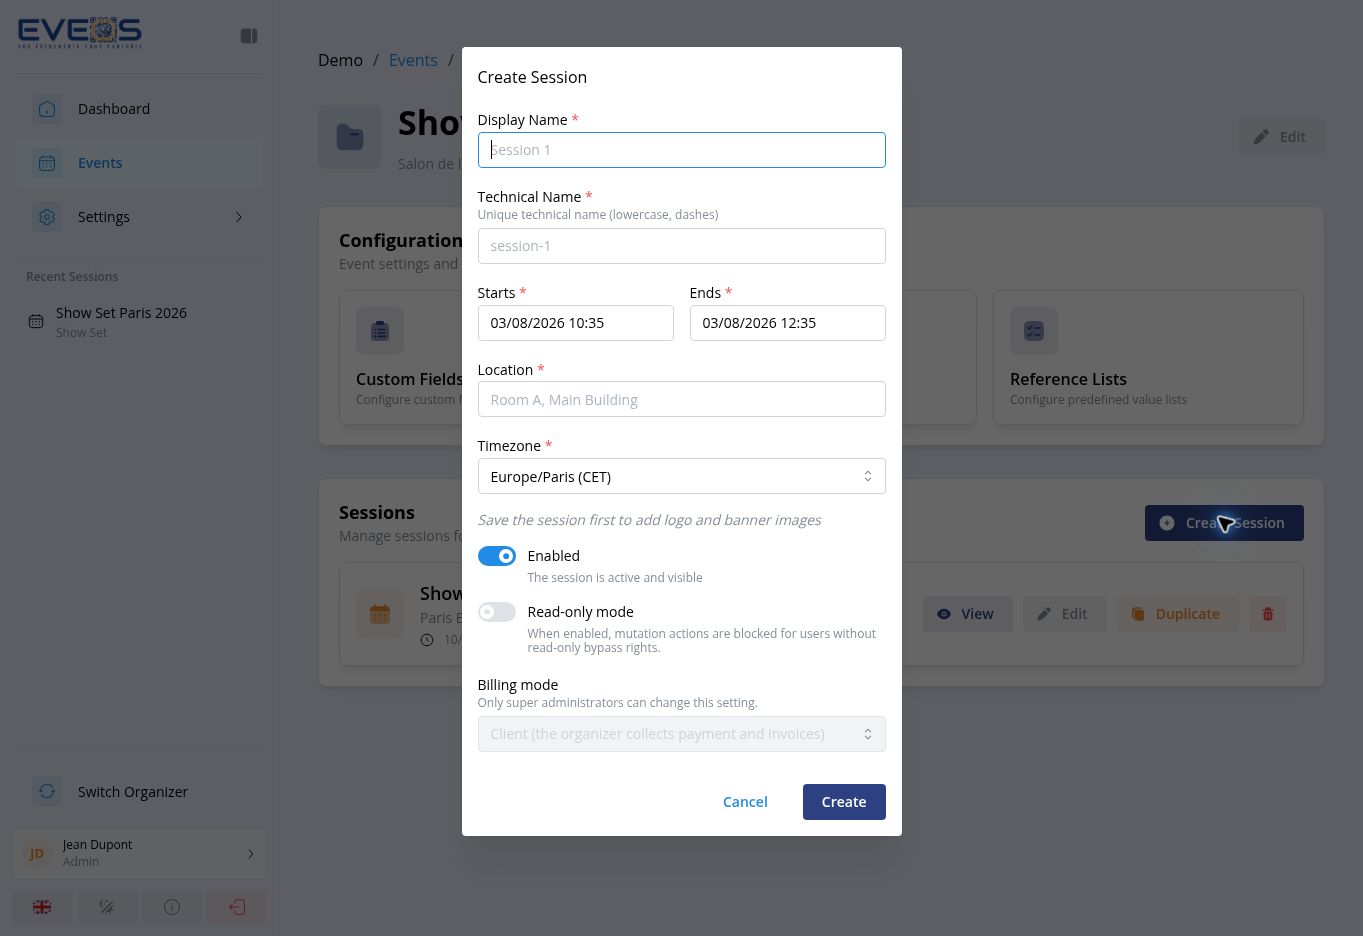
- Under “Sessions”, select “Create Session”.
- Complete “Display Name”, “Technical Name”, “Starts”, “Ends”, “Location”, and “Timezone” — all required. The “Technical Name” is suggested automatically from the display name if you leave it empty.
- Review “Enabled” (on by default) and the “Read-only mode” option.
- Select “Create”.
By default, the end time is set two hours after the start and the timezone to Europe/Paris. The session logo and banner are set after creation, by editing the session.
4. Open the session
Section titled “4. Open the session”In the event’s session list, select “View”. Eveos opens “Overview” and displays the available session modules in the sidebar.