

Import exhibitors
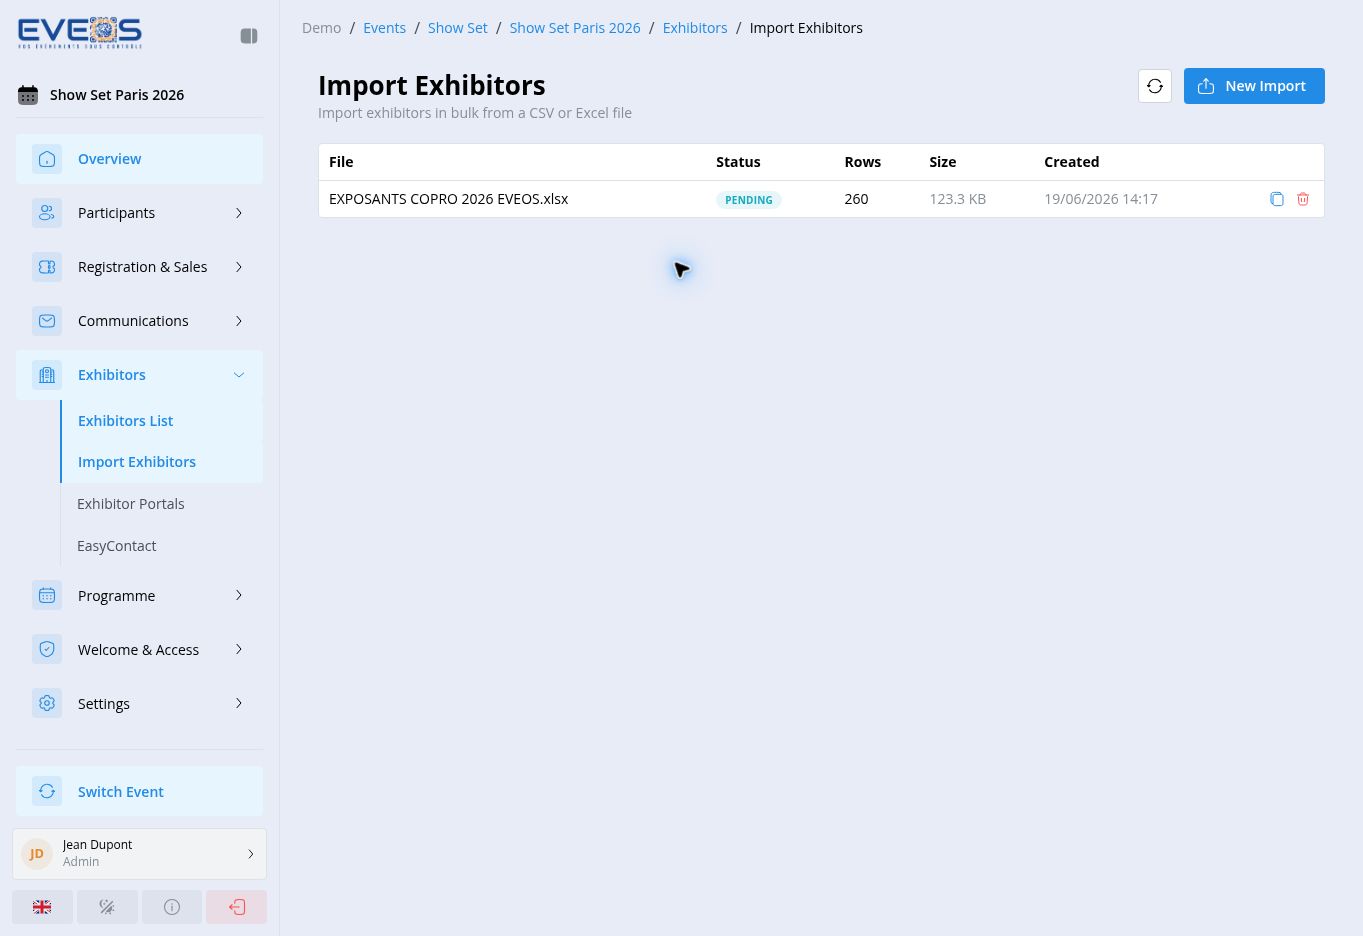
Start an import
Section titled “Start an import”- Under “Exhibitors”, open “Import Exhibitors”.
- Select “New Import”.
- Enter the “Import name” used in the import history.
- Select “Choose File” and choose the file.
- Select “Next” to continue to “Mapping”.
- Complete the “Deduplication”, “Options”, “Review”, and “Progress” steps.
The displayed formats are CSV, TXT, XLS, and XLSX, with a maximum size of 50 MB.
The “Mapping” step works like the participant import: each file column is matched to an exhibitor field, with automatic suggestions, transformations, and default values.
Deduplication step
Section titled “Deduplication step”Deduplication compares each file row against exhibitors already present in the session, following the same principles as the participant import: matching criteria, action on duplicate (skip, update existing, create anyway, mark as error), and update strategy.
A symmetric action, “If no match found”, applies to rows that don’t match any existing exhibitor: “Create a new record” (default), “Skip row”, or “Mark as error”. The “Skip” and “Error” options are only available when deduplication is enabled with at least one match criterion.
For exhibitors, the most reliable criteria are, in the priority order tested by the server:
- Exhibitor’s internal ID;
- External ID (
externalId); - Company name;
- Email.
Options step
Section titled “Options step”The “Options” step groups the settings applied to the whole imported batch.
General settings
Section titled “General settings”- Default exhibitor category: used when the category column isn’t mapped or is empty for a row.
- Default exhibitor status: used when the status column is empty (Cold Lead, Prospect, Negotiation, Confirmed, Paid, Cancelled, Lost — defaults to “Confirmed”).
- Generate portal password: automatically creates a secure password for portal access when the file doesn’t provide one; set its length.
- Stop on first error: interrupts the import as soon as a row fails.
- Email notification: sends an email once the import finishes.
- Origin: free text recorded as the source of the created exhibitors (defaults to “import”).
Promo code generation
Section titled “Promo code generation”This section automatically creates a promo code for each imported exhibitor — handy for distributing discounted invitations without manually creating each voucher.
- Enable “Promo code generation”.
- Choose the “Discount type” (percentage or fixed amount) and its “Value”.
- Set the “Code prefix” and “Code length”, and an optional “Name
template” (use
{company}to insert the company name). - Limit, if needed, the “Max total usages” and “Max per registration”, along with the “Valid from” / “Valid until” dates.
Two advanced settings refine the behavior:
- “Code source”: enable “Use a file column as the code” to reuse the code from a column mapped to “Exhibitor promo code”. Then choose the fallback behavior “If the cell is empty” and “If the code already exists” among Generate a code, Skip (no code), or Row error.
- “Scope”: enable “Also generate on update” to create a voucher even for existing exhibitors updated by the import (not just new ones), then “Only if no existing code” to avoid duplicating a voucher already assigned (idempotent).
Review, progress, and history
Section titled “Review, progress, and history”“Review” summarizes the file, mapping, deduplication, and options before starting the run; “Progress” then tracks row-by-row advancement.
An update that doesn’t actually change any field (values already up to date) is counted separately under “Already up to date” rather than “Updated”. Those rows, along with rows skipped for lack of a match, carry a warning grouped by message in the Review step — handy for spotting, before starting the import, the rows that won’t have any effect.
The “Import Exhibitors” page keeps a history with the file, status, row count, size, and creation date for each import. Each row’s menu offers “Duplicate configuration”: it opens a new import reusing the mapping, deduplication, and options of a previous import — handy for a file that receives the same structure on a recurring basis.