

Manage reference lists and custom definitions
Reference Lists provide reusable values for forms and custom fields. Custom Definitions let you create organizer-level modules and taxonomies.
Create a reference list
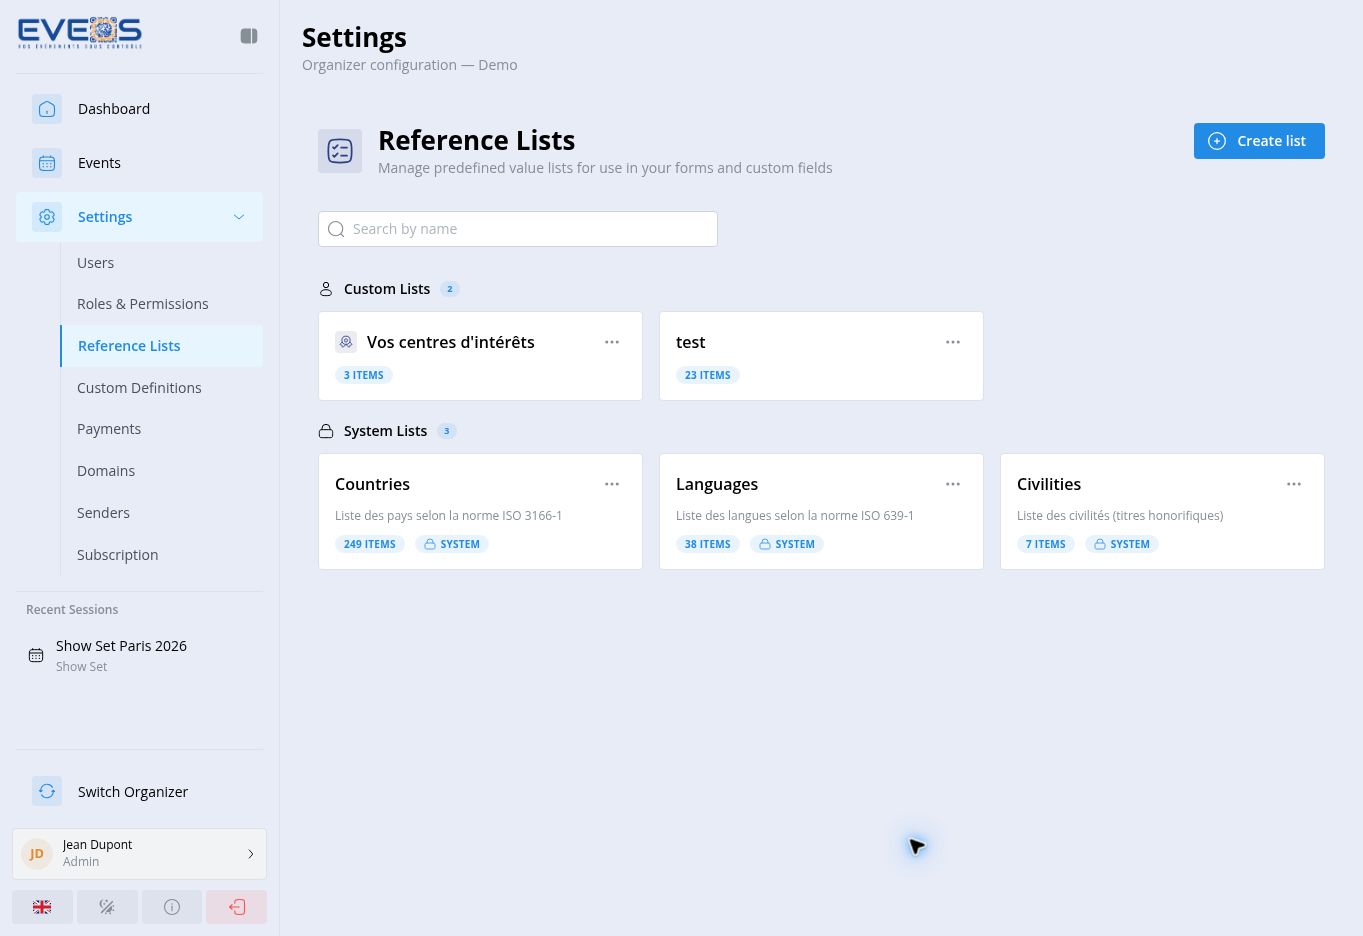
Section titled “Create a reference list”Open “Settings” > “Reference Lists”. The page separates custom lists from system lists such as “Countries”, “Languages”, and “Civilities”. System lists cannot be edited, but they can be cloned to create a custom variant.
- Select “Create list”.
- Enter the “Label”. The “Technical name” is generated from that label and must remain unique.
- Add a description and icon if needed.
- Choose the availability: “All projects” or “Specific projects”.
- Enable “Alphabetical order” and “Active list” as needed.
- Select “Create”.
Manage list items
Section titled “Manage list items”Each item has a value (technical code) and a label, and can receive a color, an icon, and the selectable option. Items can be organized in a hierarchy: reorder them by drag and drop and use the indent commands to create sub-levels.
To go faster, bulk add accepts multi-line input in the code|label
format (or a single value per line), with a two-space indentation to build
the hierarchy.
Create a custom definition
Section titled “Create a custom definition”Custom Definitions extend the app with your own data structures, at the organizer level:
- A module creates a new record type for your own needs (for example partners, rooms, workshops…), with its own fields. Module records are managed like any other data and can be linked to participants, exhibitors, programme items, speakers, or records from another module.
- A taxonomy is a tree of categorization terms (theme, sector, type…) that you apply to participants, exhibitors, programme items, speakers, or module records, to classify, filter, and display them by category throughout the app.
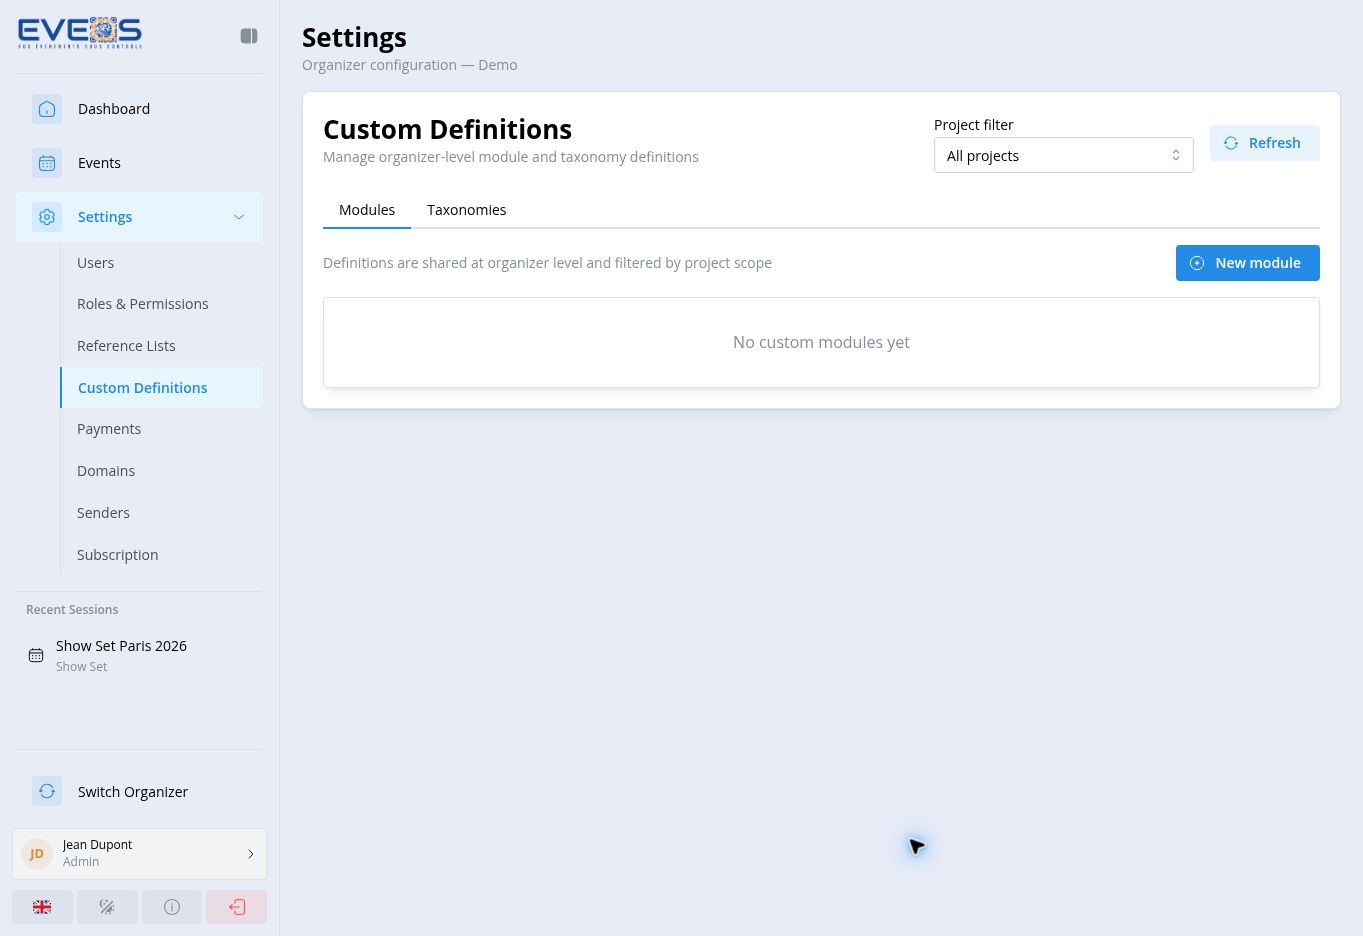
Open “Settings” > “Custom Definitions”. Use the “Project filter” to limit the display to a project.
- In the “Modules” tab, select “New module”.
- Enter the “Label”, then add a description, icon, and color if needed.
- Choose the “Enabled projects”.
- Add at least one field with “Add field”. Available types cover text (short, long, email, URL, phone), numbers (integer, decimal), dates (date, date and time), checkbox, lists (single choice, multiple choice, free values), plus image and document. Each field can be required and shown in the record list.
- Configure “Allowed links” if the module must connect to other data: participants, exhibitors, programme items, speakers, or records from another module, with fine-grained rights (create, edit, delete the link target).
- Select “Save”.
- In the “Taxonomies” tab, select “New taxonomy”.
- Enter the “Label” and choose “Single” or “Multiple”.
- Choose the “Enabled projects” and the items the taxonomy “Applies to”: participants, exhibitors, programme items, speakers, or custom modules.
- Add terms with “Add root term”. Terms are organized as a tree (4 levels maximum) and can be reordered by drag and drop.
- Select “Save”.
Advanced: module relationships and cardinality
Section titled “Advanced: module relationships and cardinality”This section details how to configure a link (“Allowed Links”) for anyone who wants to build advanced relationships between modules and entities.
Direction of the link
Section titled “Direction of the link”A record of the module being edited is always the source of the link: the “Source Type” stays locked to that module. The target can be a participant, an exhibitor, a programme item, a speaker, or a record from another module (or the current module, to relate records of the same module to each other).
Cardinality: two complementary settings
Section titled “Cardinality: two complementary settings”Two independent settings control, on each side of the link, how many records can be connected:
- “Cardinality” (1-1 or 1-N) controls the source side: can a module record carry only one link to this target type (“Assignable to a single target”), or several (“Assignable to multiple targets”)?
- “Allow multiple references” controls the target side: can the target (participant, exhibitor…) receive several linked source records, or only one?
Combining both settings gives you the four classic relationships:
| Cardinality | Multiple references | Resulting relationship |
|---|---|---|
| 1-1 | No | One-to-one: one record ↔ one target, exclusively. |
| 1-1 | Yes | Many-to-one: each record targets only one target, but a target can receive several records. |
| 1-N | No | One-to-many: one record can target several targets, but each target receives only one record. |
| 1-N | Yes | Many-to-many: no limit on either side. |
Rights on the target
Section titled “Rights on the target”When a user views the target (for example a participant’s record) and manages its linked records, the rights configured on the link apply:
- “Allow creation”: lets the user create a new module record directly from the target, already linked.
- “Allow edit”: lets the user edit the linked record from the target.
- “Allow deletion”: lets the user permanently delete the linked record (not just remove the link) from the target.
Required link and link key
Section titled “Required link and link key”Enable “Required” to require that a module record always have at least one target linked through this link. The “Link Key” is generated automatically from the source/target types, but stays unique: it identifies this specific link in the widgets and exhibitor portals that use it.