
Configure payments and communications
These settings are available under organizer-level “Settings”. They cover payment integrations, verified domains, and sender addresses used for communications.
Get there
Section titled “Get there”These settings are defined at the organizer level: they are not part of an event’s or a session’s settings.
- From a session, return to the organizer level: select “Events” in the breadcrumb at the top of the page, or “Switch Event” at the bottom of the sidebar.
- In the organizer sidebar, open the “Settings” section.
- Open the page you need: “Payments”, “Domains”, or “Email Senders”.
To understand how settings are split between organizer, event, and session, see Where settings live.
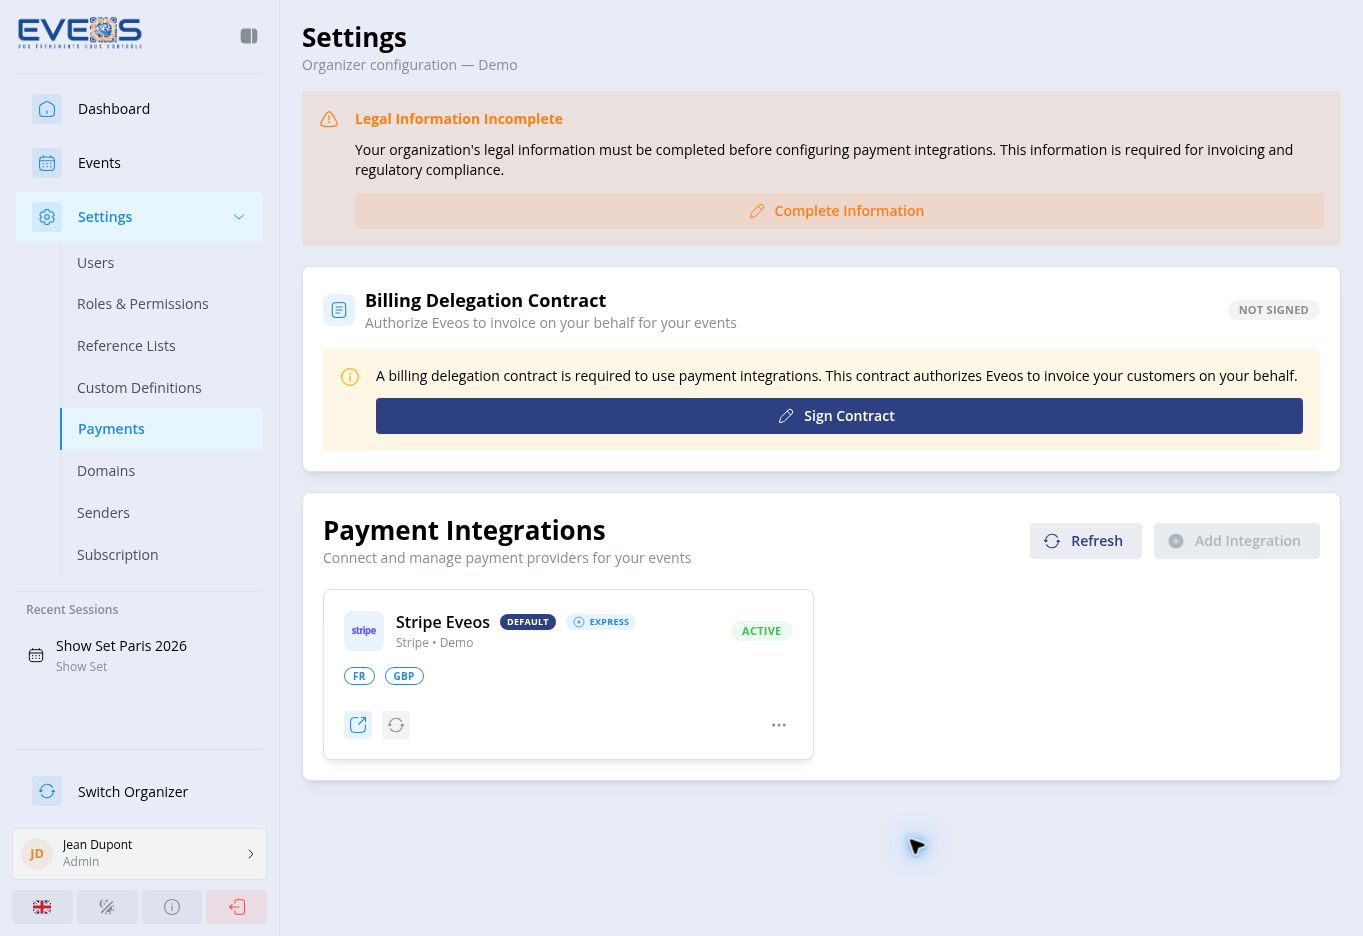
The “Payments” page displays payment integrations and their status. Two prerequisites must be met before adding an integration: complete legal information and a signed billing delegation contract. Use “Complete Information” and “Sign Contract” to address them; “Add Integration” stays disabled until both are met.
The available integration is Stripe, with two connection modes: creating a new account (Express) or linking an existing Stripe account (OAuth). Each integration shows its state (active, restricted, pending setup, inactive) and offers actions: complete setup, open the Stripe dashboard, sync status, set as default, disconnect, or delete.
- Open “Domains”, then select “Add domain”.
- Enter the “Domain”.
- Enable “Email (SES/DKIM)” for sending from this domain and/or “Web (Custom URLs)”.
- Select “Add”.
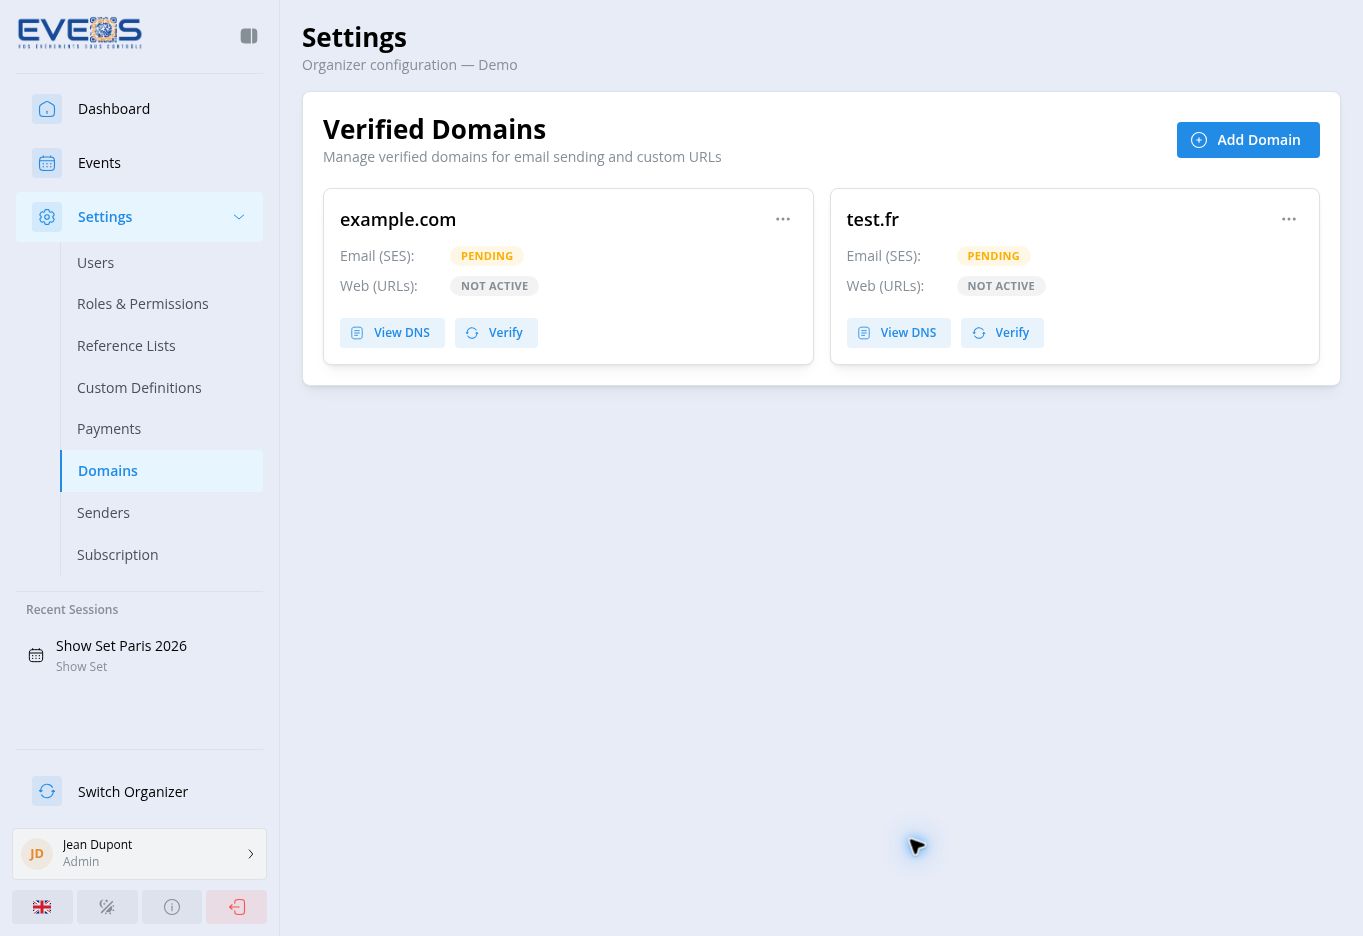
- Use “View DNS” to review the records to configure, then select “Verify”.
Each domain shows its verification state: not active, pending, verified, or failed.
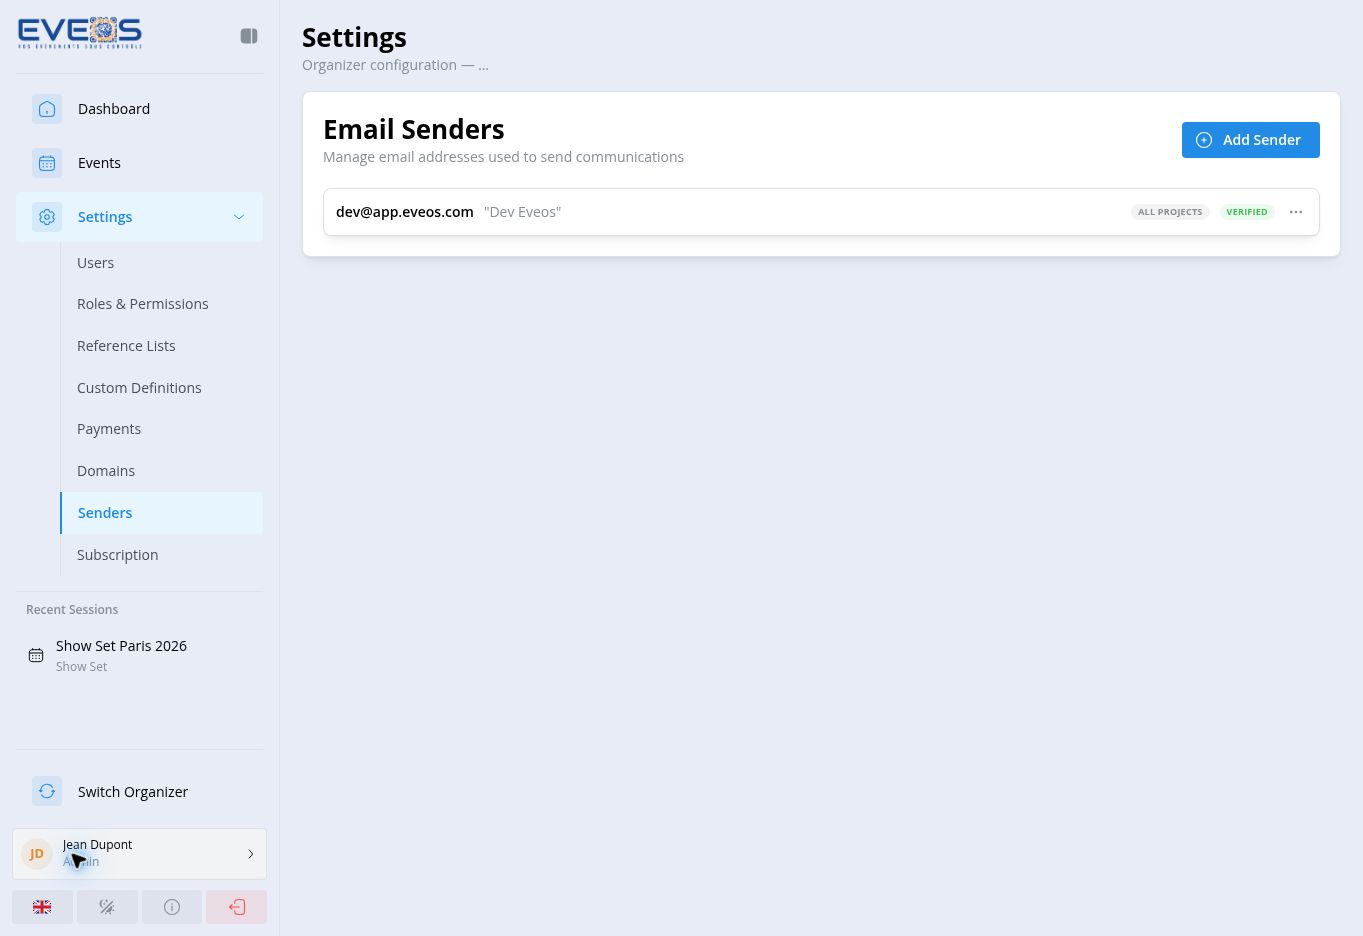
- Open “Email Senders”, then select “Add Sender”.
- Enter the “Email” address and “Display name”.
- Add a “Reply-to” address if needed.
- Choose availability for all projects or specific projects.
- Enable the default-sender option if this address should be offered first.
- Select “Add”.
The list shows whether each address is verified and which projects can use it. Each card lets you check or resend the verification, set the address as default (once verified), or delete it — except the default sender. The email address cannot be changed after creation; only the display name, reply-to address, and availability remain editable.